Probably the single-most time consuming and unpredictable part of selling online is actually getting the items packed up and mailed out. Even tougher is figuring out your own best process to minimize wasted time and get the best rates. A huge reason for creating the Hab Bazaar was to make online selling within reach of everyone, and this isn’t an aspect we’ve really talked about at all yet.
So, we’ve spent a ton of time researching, testing, and editing code in order to make this as quick and easy as we can… and we’re finally ready to share some tips and how to use the power of the Bazaar platform to speed up the process!
This post is primarily aimed at US vendors, but we’ve heard that non-US vendors might be able to take advantage of these tips with a similar service. So please take a look and see if there’s a comparable service you can use and please share with us!
So without further ado, here’s how Hab Bazaar vendors can use our platform to build and streamline their shipping process. You’ll be able to do most of everything at home, save some cash, and you won’t have to wait in any more lines at the post office!
Required Equipment & Supplies
1. Postal Scale: You’re going to need to invest in a decent scale. Just search Amazon for “Postal Scale” and pick one with decent reviews.
2. Printer: A basic printer will work to print both packing slips and shipping labels. You may wish to purchase a standalone shipping label printer, but those can be super expensive and have their own specialized supplies. We have been using this printer just fine for 2+ years, with these cheap 3rd-party ink cartridges.
3. Mailers: The size, type, and shape of your mailers will vary depending on your business and the size/weight fragility of your items. However, for soft items like patches or T-Shirts, a solid choice is a simple poly mailing bag. These come in all kinds of sizes, so just find the variety of sizes that suit your needs. Using USPS First Class Shipping rates at a discount, these will result in considerably less costs than flat rate mailers or “retail” rates you’ll get at the post office counter.
4. Packing Slip / Shipping Label Pouches: If you’re not getting a label printer or self-adhesive labels to print onto, then a good cheap alternative is to buy these plastic label pouches. The great thing about these is that you can put a packing slip inside first so you can tell what’s in there when you pack them up, and then quickly slide in all your shipping labels at once after purchasing and printing in bulk.
Next, we’ll go through the best way to actually do that. Follow along as we go through the steps to pay for postage and print your shipping labels at home!
Step One: Get a CSV file from the Hab Bazaar
We are going to get a CSV file from the Bazaar dashboard, which will automatically import the majority of the information you will need to make and pre-pay for shipping labels.
First, go to your Orders page in your vendor dashboard. Make sure that you are displaying processing orders only by using the dropdown box at the top.
Next, select the checkboxes for each order that you want to include in the CSV. Alternatively, you can check the very top box to check all of them. Finally, click the “Download CSV” button at the top of the screen.
Step Two: Go to Shippo and get your labels!
We’ve tried almost every service provider out there, and the best one that works with the Bazaar platform is Shippo. Click the link to go to their site, where you can very quickly create a free account.
1. Add your shipping/return address: Once you’ve signed up for an account, you will want to go to your account settings page and add your shipping/return address first.
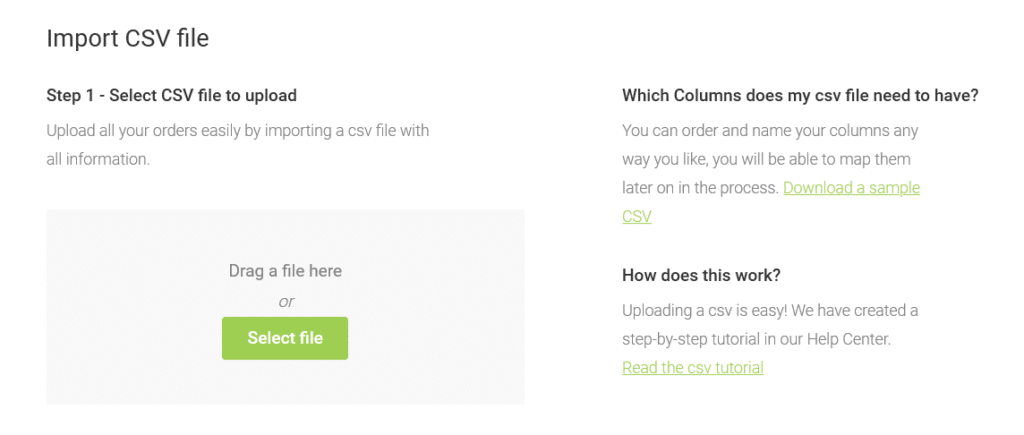
2. Upload your CSV: Go to your Orders page and look for the prominent button that says “Upload CSV,” followed by “Select File.”

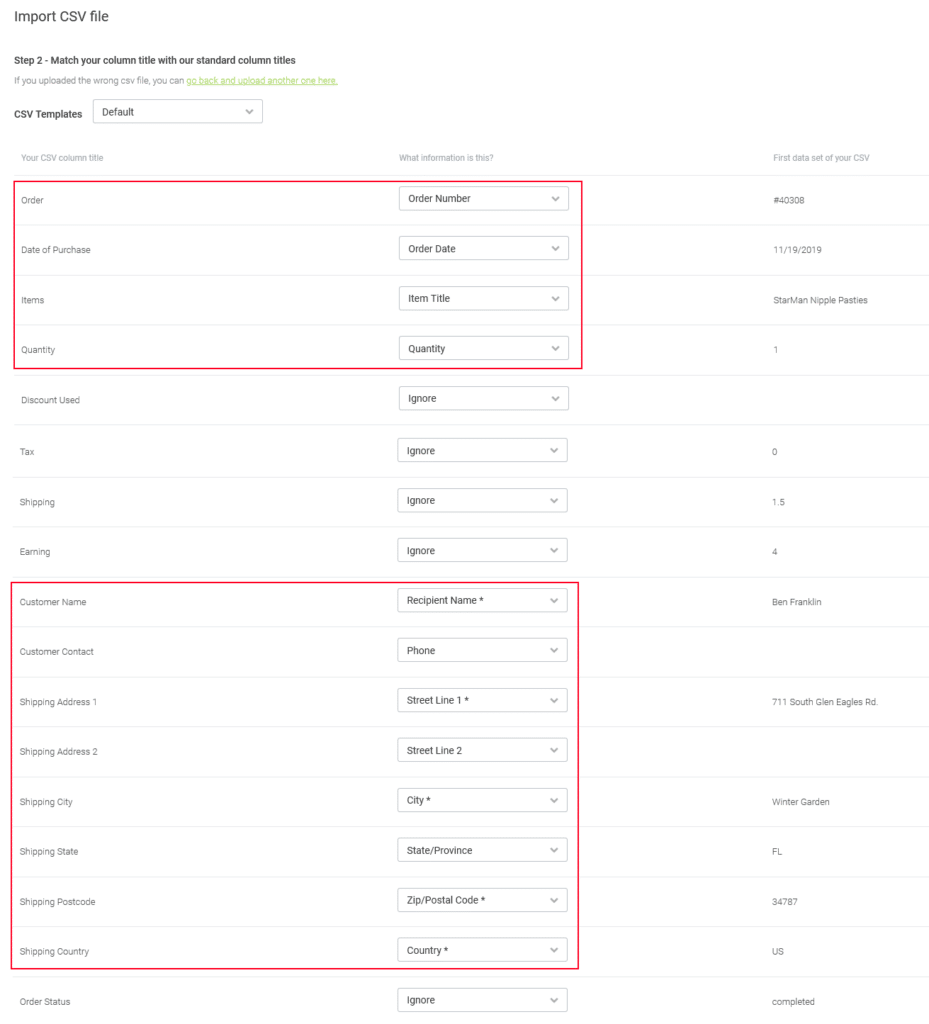
3. Match the data: You will need to match the important column titles to what kind of information it is. See the important columns below. The good news is that you only need to do this once… see the “CSV templates” section at the top? Once you do this the one time, you’ll be able to select this mapping template. Once you’re finished, click the “Upload” button in the top right of the screen. Click the image to open it in full size in another tab.
4. Add your packages’ dimensions and weights: Now you will be redirected back to your Orders page, and you will see all the information we have available has been uploaded for you. This gives you a huge head start, and all you need to do is input the package info. Note: Sometimes the “Items” column does not import at all, but this is not necessary for this to function.
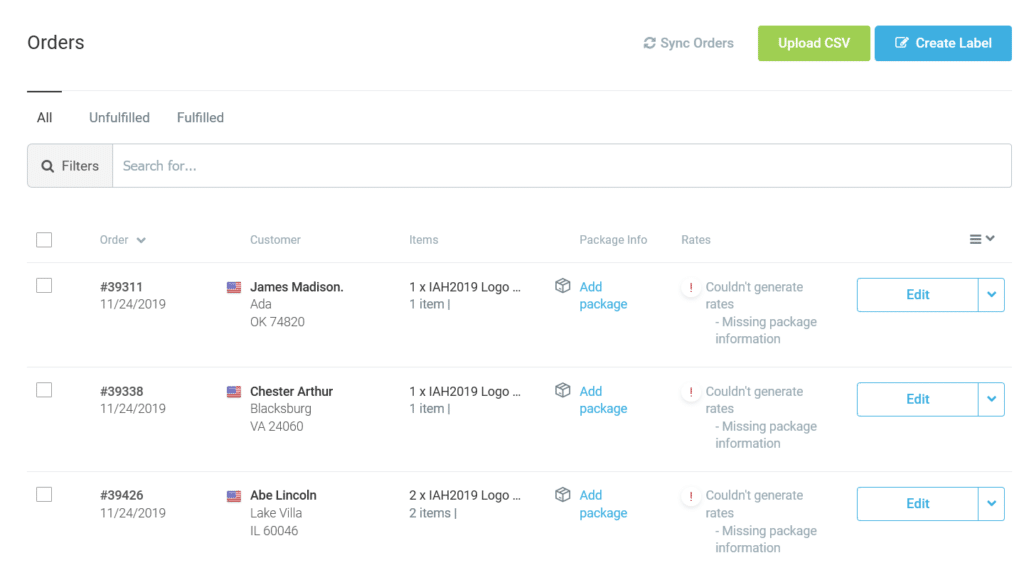
Click the “Add Package” link to enter in the size and weight information. You can click the “Edit” button to see all the information for this package, but if you just click the “Add Package” link a convenient pop up shows up if you do it this way.
You can either enter in custom dimensions and weights, or select from carrier-provided packaging like flat rate boxes. In this case, we’re mailing a single T-Shirt in a plastic poly mailer that weighs a total of 7 ounces (including all packaging):
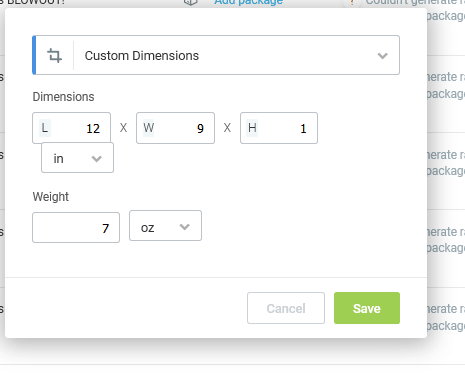
5. Check your rates and buy your shipping label(s): Click the “Save” button and it will automatically calculate the best rate that they can offer, in the “Rates” column. Notice how it is showing First-Class rates? You can’t even get those rates from the USPS website.
You can also click the rate to review and choose from any of the other options available, or change it to a flat-rate box to see the different pricing and delivery timeframes.

At this point, you can quickly buy the single label by clicking the “Buy” button. Or, you can continue down your list and input all the package information. If more than one of your packages are the same, just select all that apply using the checkboxes on the left side. A window appears offering you to edit in bulk, where you can select “Edit Packages” for all of them at once.
For those vendors who need to generate customs forms, require a signature, print a return label, or have shipment insurance included, this is also how you do that. Just select each order and when you hit the edit button, there’s a section for additional services. Add whichever applies to you.
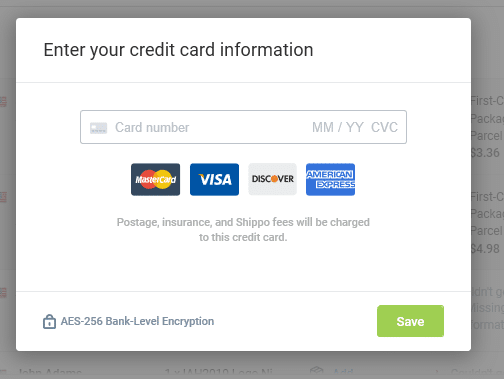
Once you’re ready, you can buy all the labels at once by selecting the shipments you want to buy labels using checkboxes on the far left. A pop up appears that shows a new buy button. If this is your first time, a pop up will appear for you to enter in a credit/debit card number. You can also go to your Billing Settings ahead of time to add a payment method or connect a PayPal account.
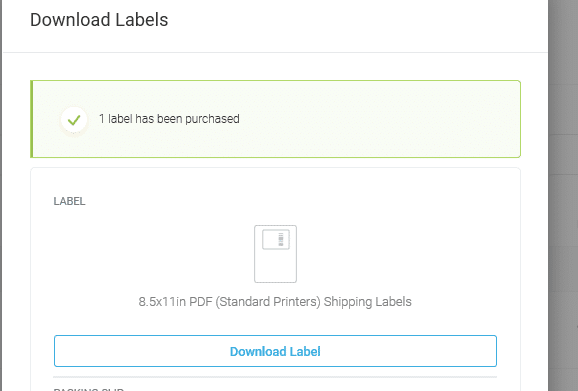
5. Print your label(s)! You’ll get a confirmation once your payment comes through, and you can download your label(s) right from the popup. Print it out and attach it to your package and you’re good to go to drop if off!
Step Three: Inform your customers
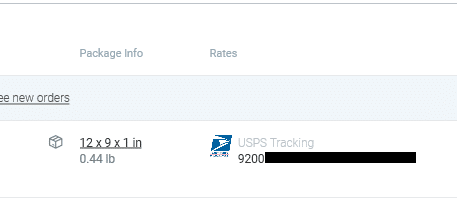
Once you close the popup with your label download, you’ll notice that the tracking number is conveniently displayed right there with the order.
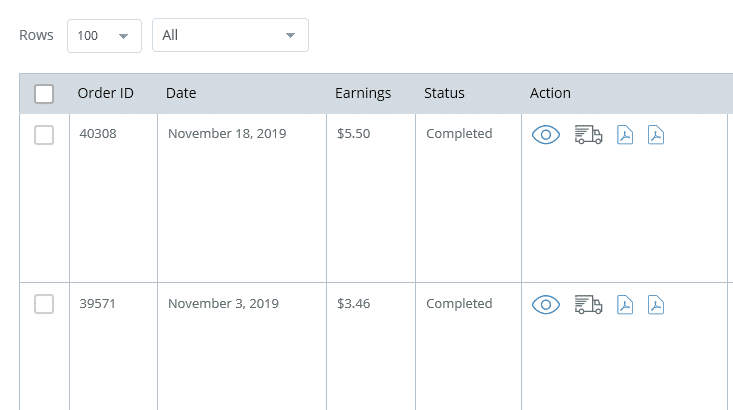
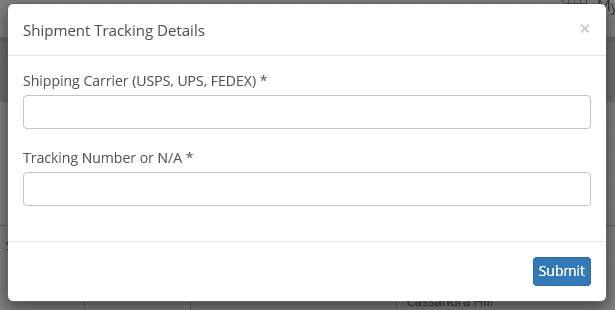
Go back to your Hab Bazaar dashboard, and you can quickly copy and paste the tracking number by clicking on the little truck icon. If the icon is black, you’ve already sent a tracking number for that order. If it’s blue you can click it to easily paste this number and automatically send your customer an email with the information.
Clicking the blue truck pops up this window. You can copy/paste right here, then click submit to send it to your customer.
Step Four: Have a beer!
Hopefully this has saved you as much time as we thought it would… in which case, we think using the time usually spent writing out shipping info and standing in line at the post office with a nice cold one is a much better use of your time… and a way better reason to have a headache tomorrow. Heck, and after a few shipments at these discounted rates, there’s a good chance that your beer is paid for as well 🙂
